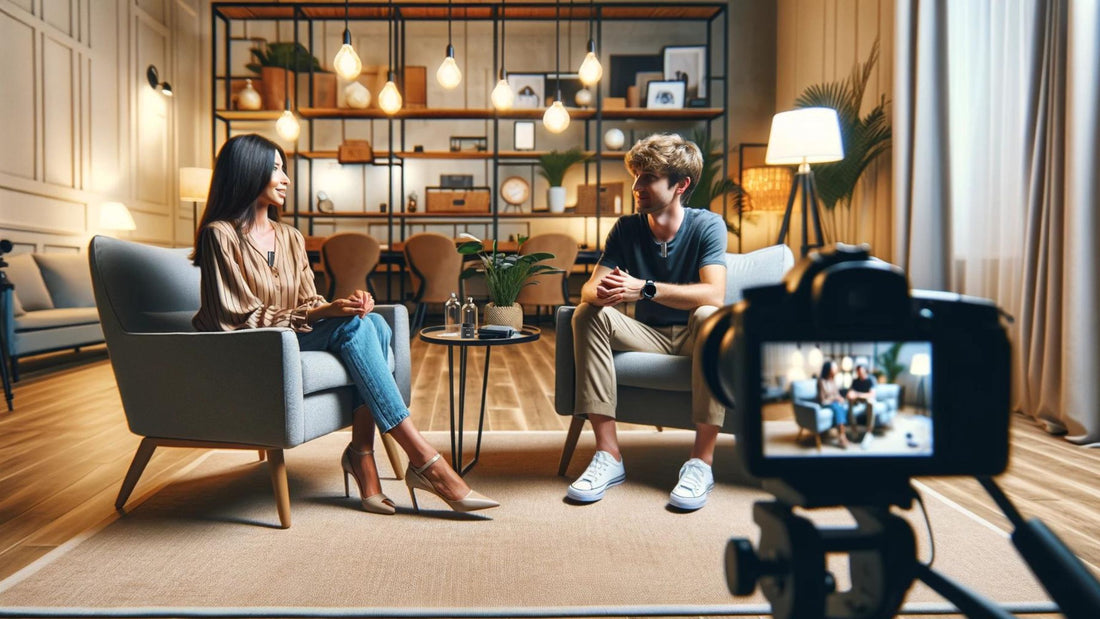
Using a lavalier microphone with your DSLR camera is a fantastic way to improve your audio quality, especially for interviews, vlogs, and presentations. These small, clip-on mics are designed to capture clear, crisp audio from the person speaking, significantly reducing background noise. Here’s a step-by-step guide on how to use a lavalier mic with your DSLR camera:
Step 1: Gather Your Equipment
Before you start, make sure you have all the necessary equipment:
- DSLR camera
- Lavalier microphone (wired or wireless)
- 3.5mm audio cable (if required)
- Adapter (if your camera doesn’t have a 3.5mm input)
- Fresh batteries for both the camera and the microphone (if required)
Step 2: Attach the Lavalier Mic
Clip the lavalier mic onto the subject’s clothing. The ideal position is close to the mouth, typically on the collar or lapel. Ensure the mic is secure but not too tight to avoid rustling sounds from the clothing.
Step 3: Connect the Mic to the DSLR
For a wired lavalier mic:
- Plug the 3.5mm audio jack from the mic directly into the microphone input on your DSLR.
- If your DSLR doesn’t have a 3.5mm input, use an appropriate adapter to connect the mic.
For a wireless lavalier mic:
- Attach the transmitter to the subject, usually clipped to their belt or placed in a pocket.
- Connect the receiver to your DSLR’s microphone input. Ensure both the transmitter and receiver are on the same frequency channel.
Step 4: Set Up Your DSLR
Turn on your DSLR and navigate to the audio settings menu. Here, you’ll want to adjust the following:
- Audio Input: Select the external microphone input.
- Audio Levels: Set the audio levels manually. Avoid using automatic gain control (AGC) as it can lead to inconsistent audio levels. Aim for the levels to peak around -6dB to -12dB to prevent distortion.
Step 5: Test the Audio
Conduct a test recording to ensure everything is working correctly. Have your subject speak naturally while you monitor the audio through headphones connected to your DSLR. Listen for any unwanted noise or distortion and adjust the audio levels if necessary.
Step 6: Monitor and Record
Once you’re satisfied with the audio quality, you’re ready to start recording. Keep monitoring the audio periodically during the shoot to ensure consistent quality.
Tips for Better Audio
- Wind Protection: If you’re shooting outdoors, use a windscreen on the lavalier mic to reduce wind noise.
- Cable Management: For wired mics, secure the cable to avoid accidental tugs or noise from the cable rubbing against clothing.
- Background Noise: Choose a quiet location and minimize background noise as much as possible.
Conclusion
Using a lavalier mic with your DSLR camera can significantly enhance your video’s audio quality, making your content more professional and engaging. For an effortless and reliable setup, consider the aLLreLi M5 Wireless Microphone. It offers excellent sound quality, ease of use, and compatibility with most DSLR cameras, making it a great choice for both beginners and professionals.
With these steps, you’ll be well on your way to capturing high-quality audio for your videos. Happy filming!

